


According to the BBC, more than 1 in 10 people in the UK has learnt something new during the recent lockdown. Whether it’s the satisfaction of learning a new skill or the mood-enhancing benefits of throwing all your attention into a task and switching off, craft is kicking off.
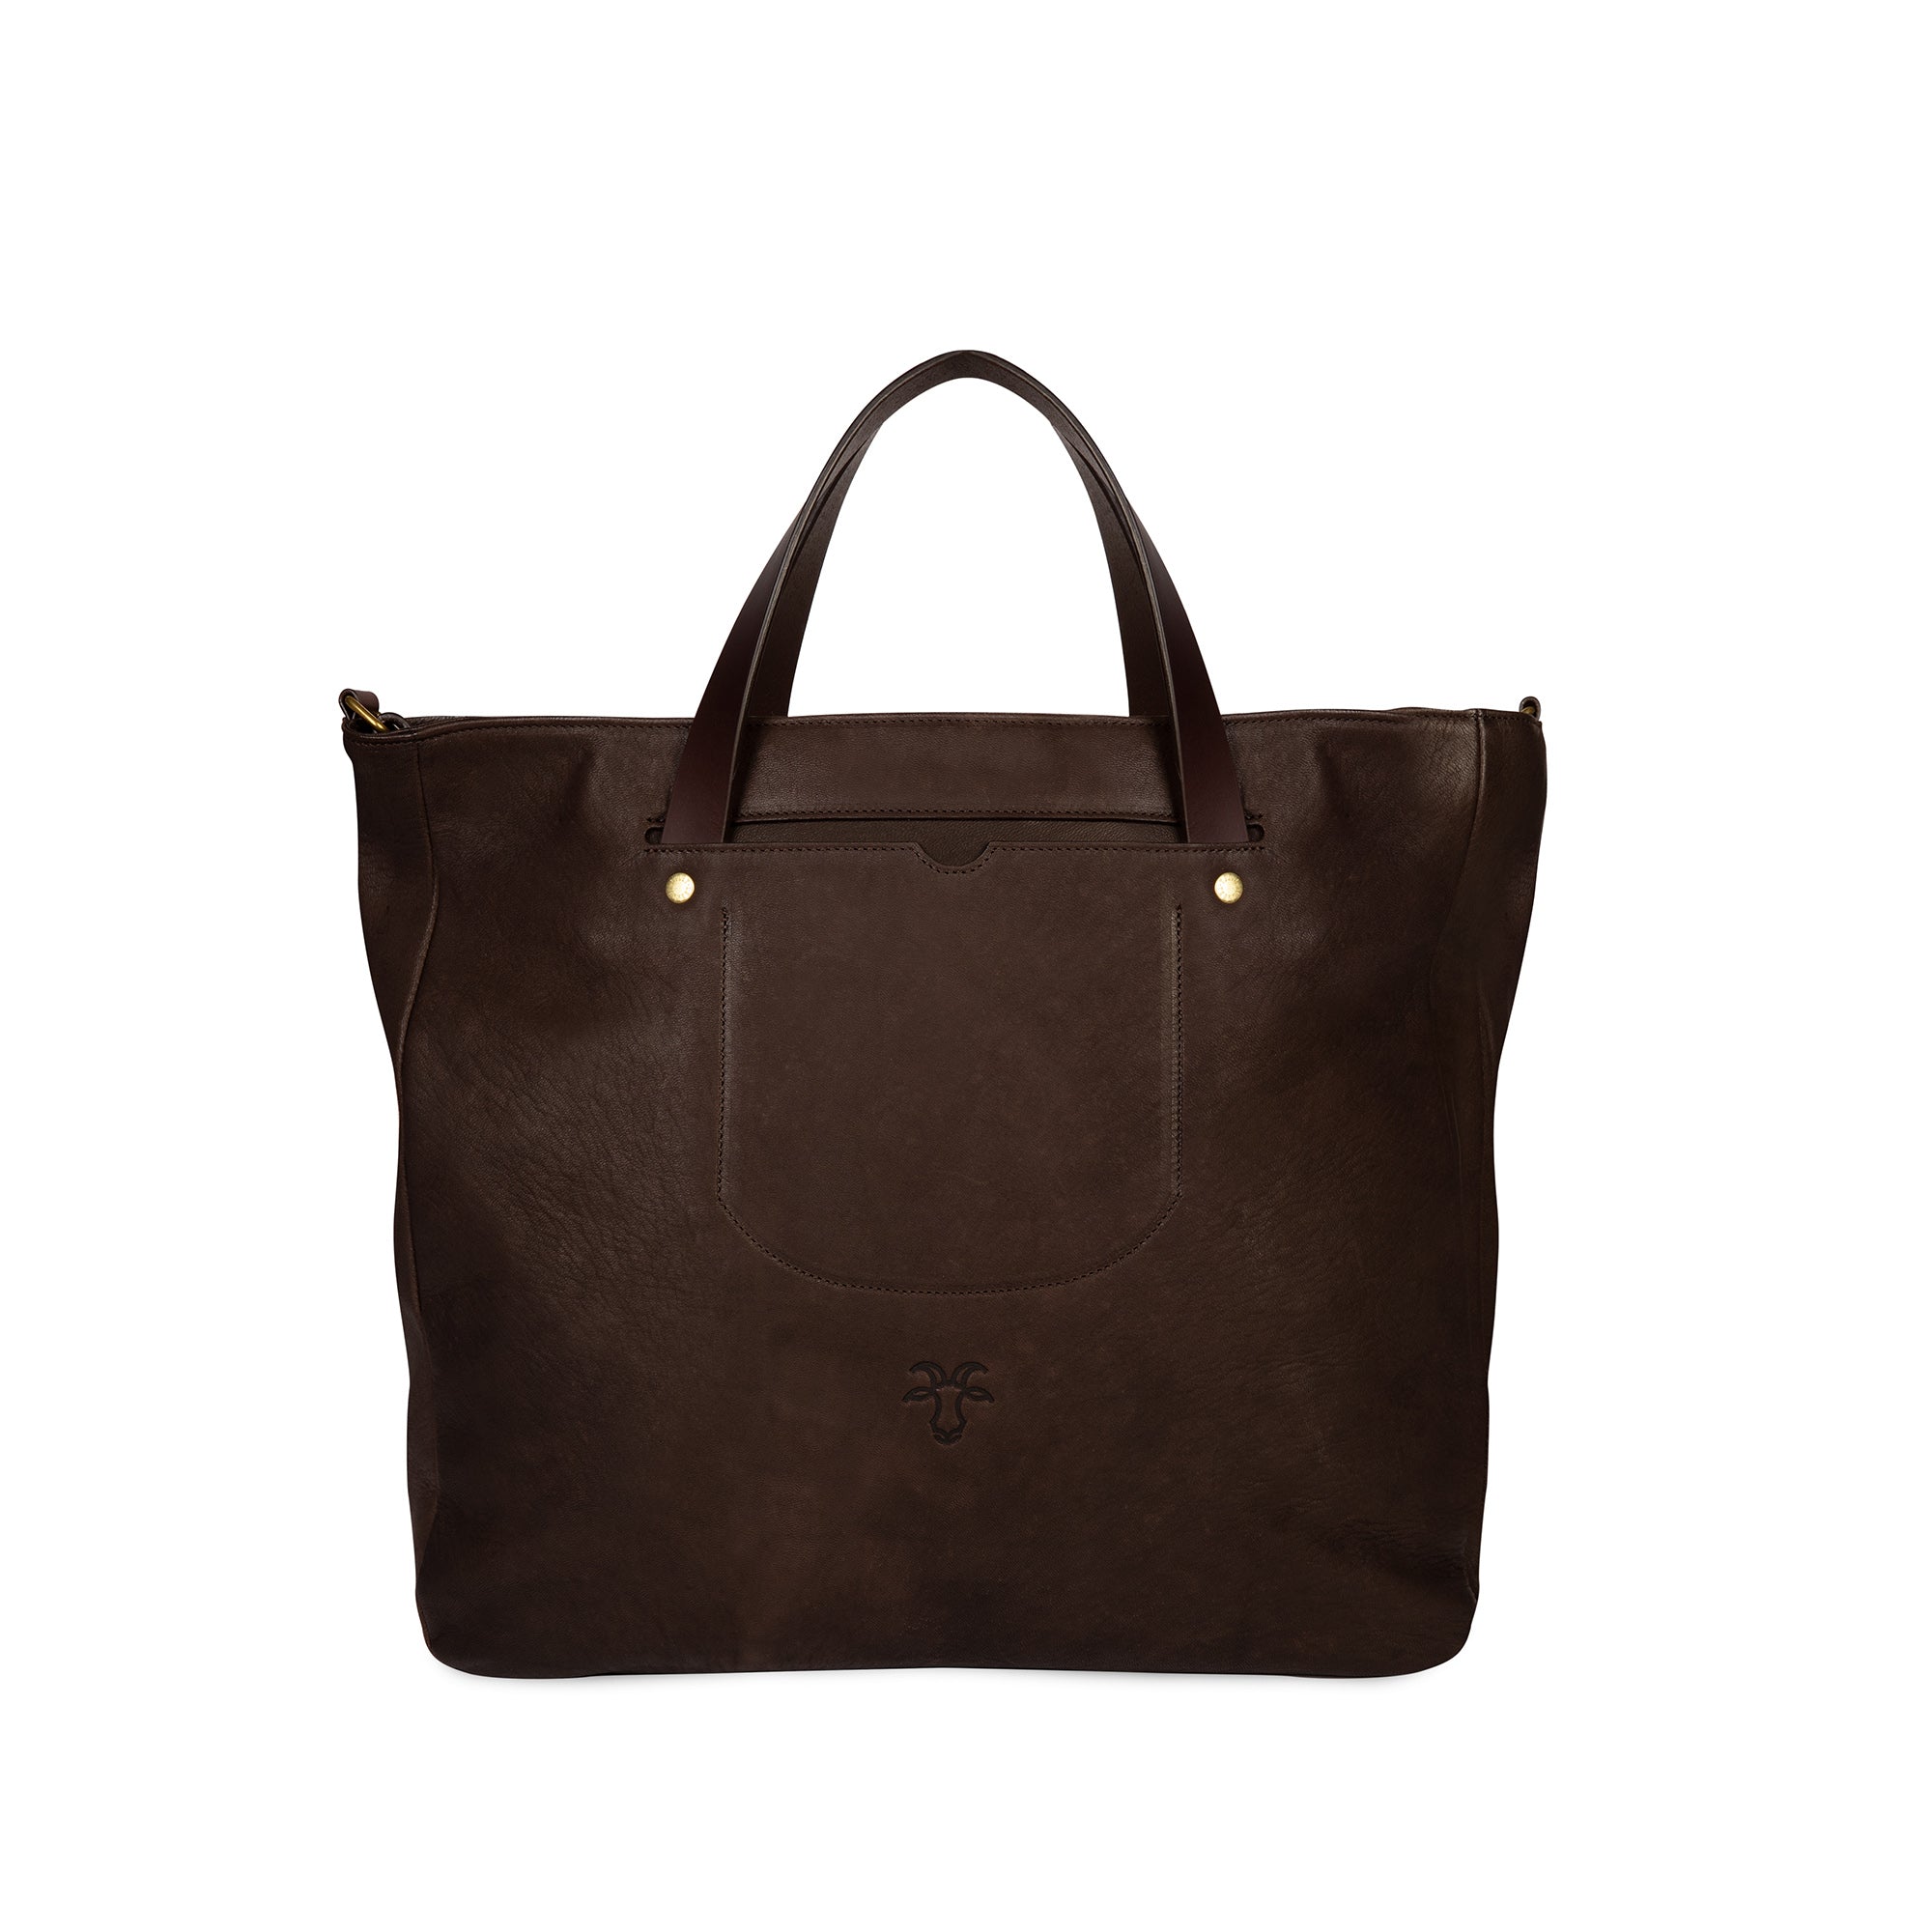
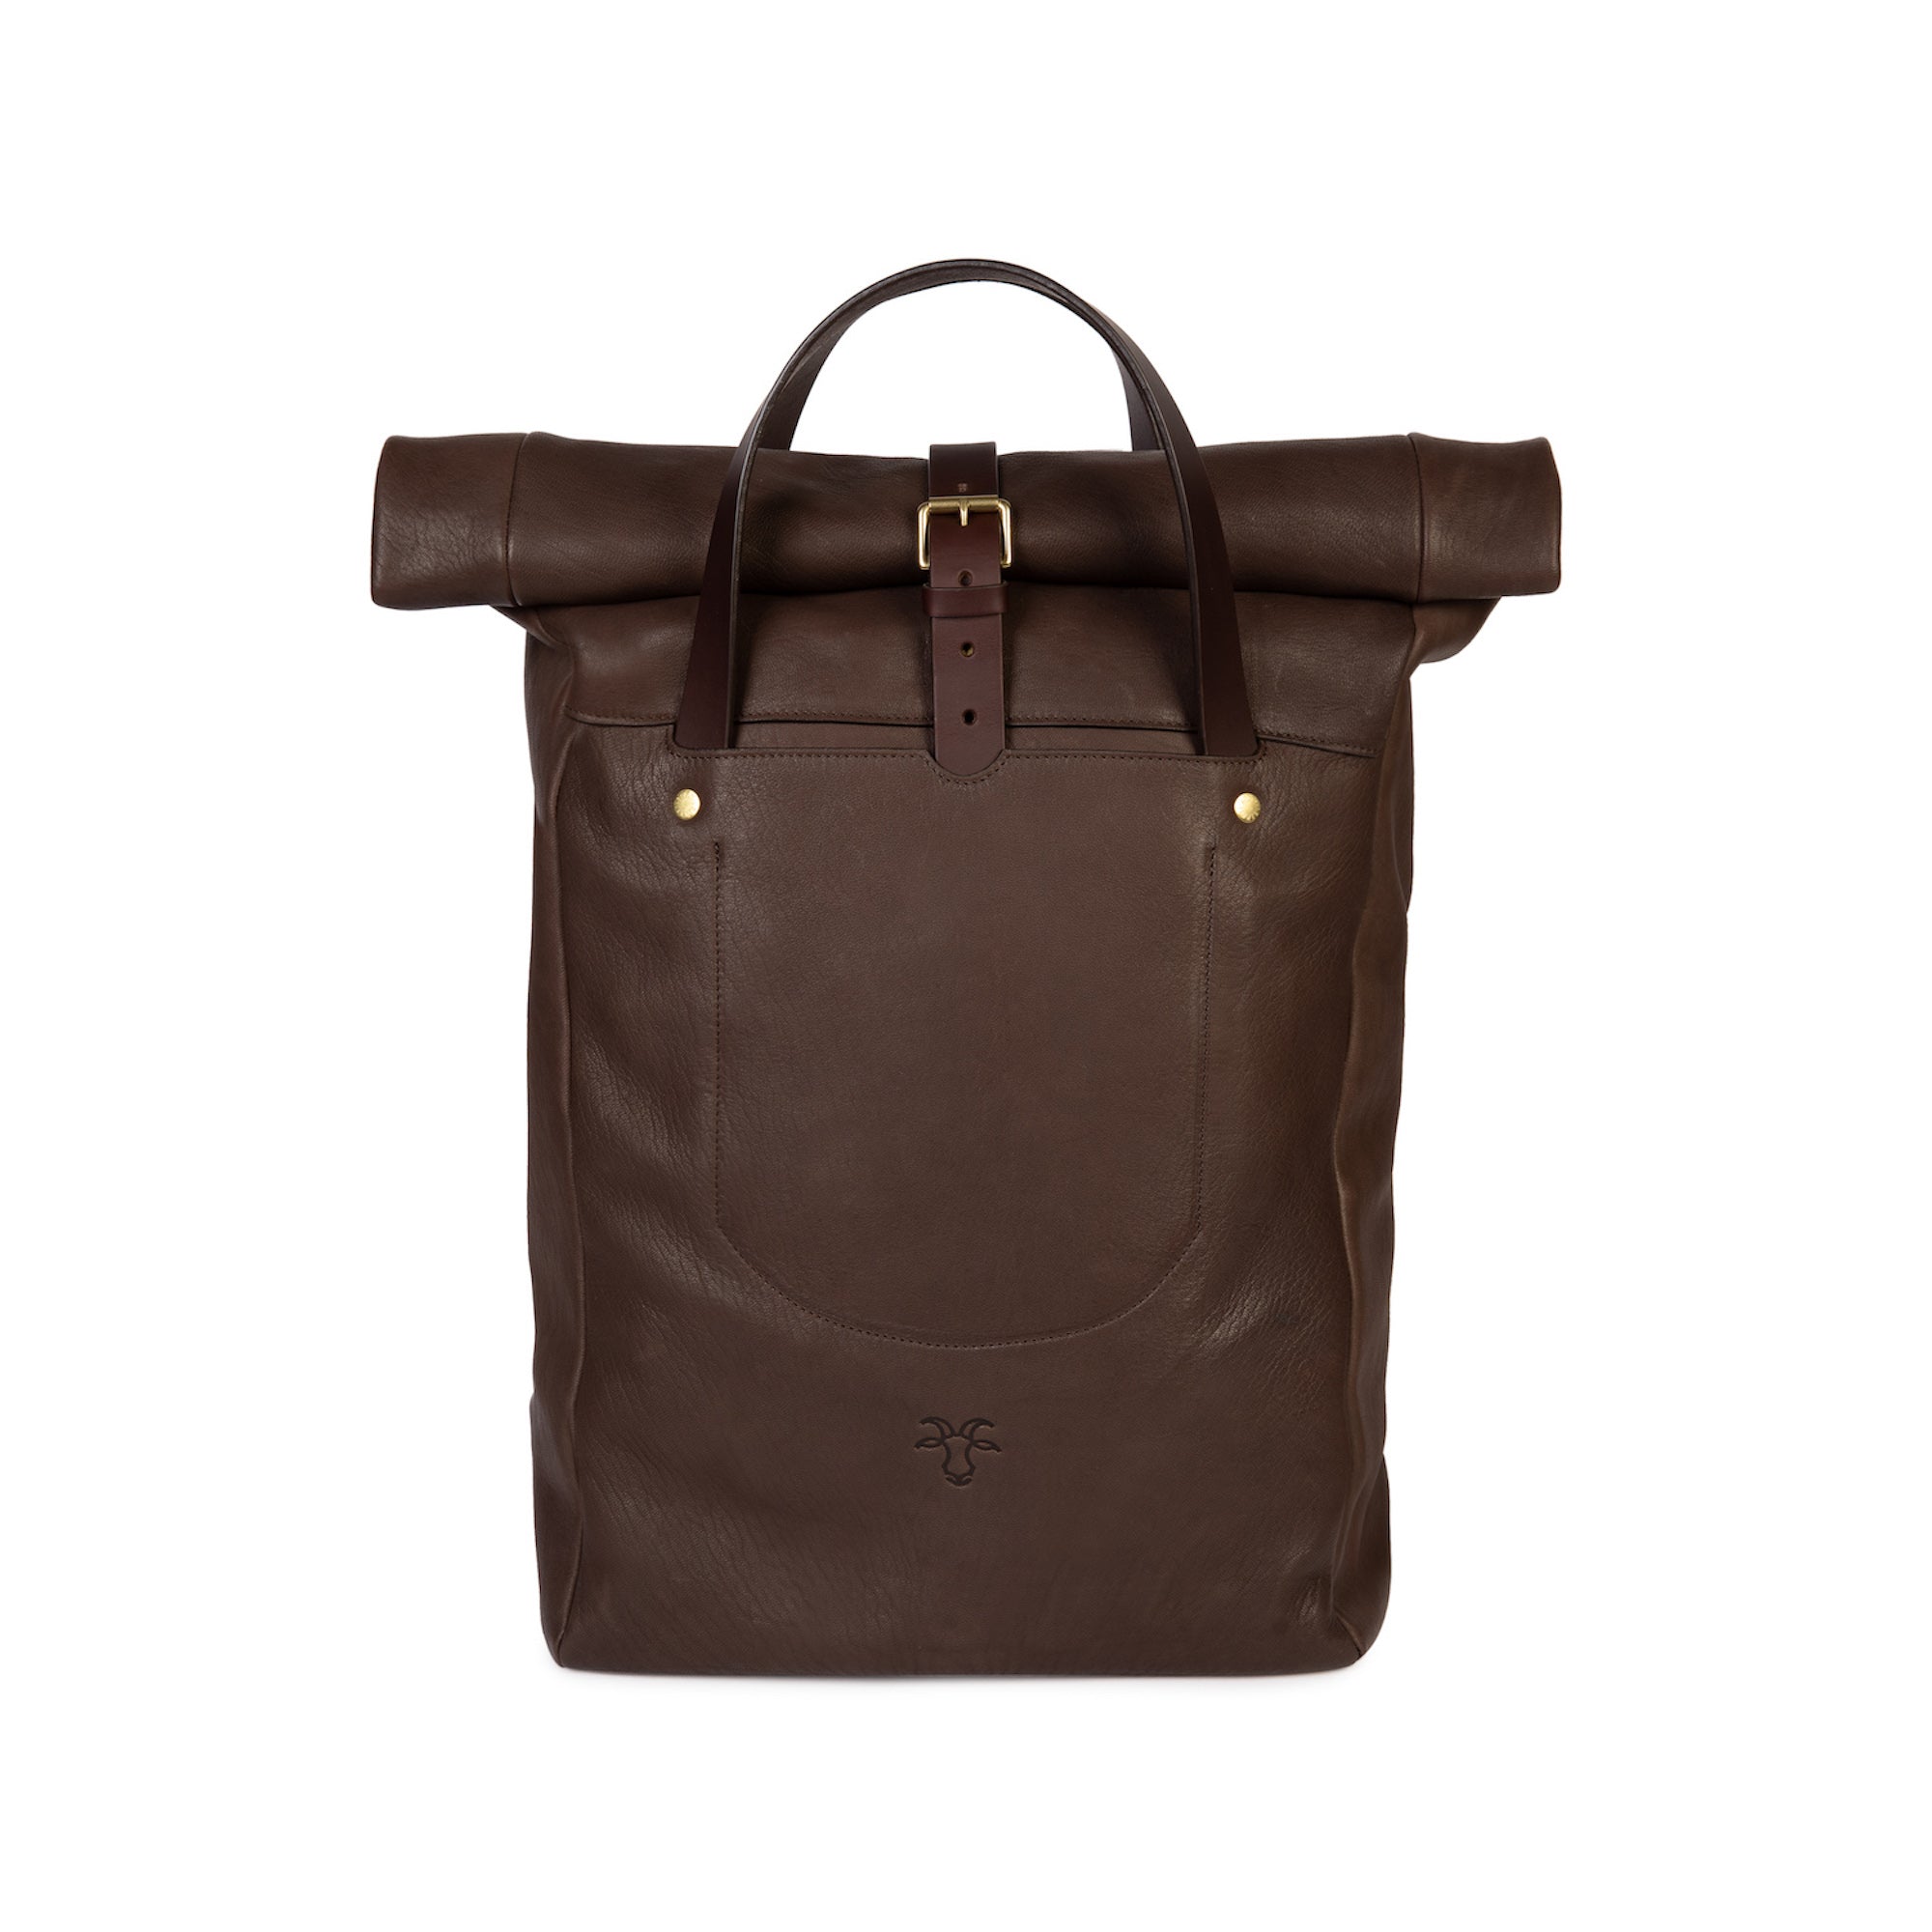
With the lockdown keeping everyone at home, we’ve seen a big increase in the number of people looking to take up leathercraft and it’s fantastic to see our customers making everything from bags to chair covers and we love seeing how versatile our vegetable tanned goat leather is.
Leather pouches are one of our best selling products and another really popular item for leathercraft, so we thought we’d share a really quick guide for how to make your own leather pouch at home.

A QUICK GUIDE TO MAKING YOUR OWN LEATHER POUCH BAG
STEP 1 - DESIGN
The first step is to decide on the size and shape of your leather pouch. Generally you are looking for a rectangle that’s double the size of the final pouch size, but we also like to round the corners for a cleaner look. Once you have this pattern drawn out, it’s best to create a template out of card to cut around later. Now’s the time to think about what sort of closure you want. We like the practicality of a zip, but you can also use press studs or many other fittings.

STEP 2 - CUT & PREP
Once you have your pattern designed, it’s time to cut it from your chosen leather. For this you’re going to need a cutting mat and either a scalpel or a leather ‘head’ knife. In order to stitch the pouch together, you first need to create the holes for the thread using a pricking iron with your chosen stitches per inch (spi). You may also want an awl to help push the needle through the layers of leather when you are stitching.

STEP 3 - STITCH
Once you have your leather cut and your fittings ready, it’s time to start stitching. There are many different types of stitches from a saddle stitch, which requires two needles and clamp, to a simpler running stitch. You’re obviously also going to need a needle, linen thread and some beeswax to run the thread through to make stitching easier.
INTRODUCING OUR MAKE-AT-HOME POUCH KIT
If you’re feeling inspired but not sure how to get started, then our new make-at-Home leather craft kit might be for you. Designed in collaboration with Otis Ingrams of Otzi London, who literally wrote the book on make-at-home leather projects, the kit includes everything you need to hand-stitch your own zipped leather travel pouch. Otis has recorded an in-depth instructional video and we also provide written set of instructions.

Choose from three vegetable tanned goat leather colours - black, Chestnut brown and Forest green - and either matching thread or a contrasting cream. For our leather phone pouch kit we’ve chosen the best quality zips from Riri in Switzerland, strong linen thread, glover’s needles and a wooden-handled awl. The leather panels are lasered for us by the good folk at Cut By Beam, which adds a nice toasty aroma and also means almost zero waste. The leather zip pulls are even cut from the gap left for the zip.
You can see how our customers got making their own leather pouch with our first batch of kits on our Instagram Stories. If you’d like to go even deeper into leathercraft, then learn from the master himself with the brilliant book Leatherworks by our friend Otis Ingrams.
Sign-up to our newsletter at the bottom of this page to make sure you are the first to hear when our next batch of Make-At-Home Pouch Kits launch.
Blog posts

Cardholder vs wallet: which is best?

A guide to sustainable tableware

